Table of Contents
Introduction to New Develop Mode
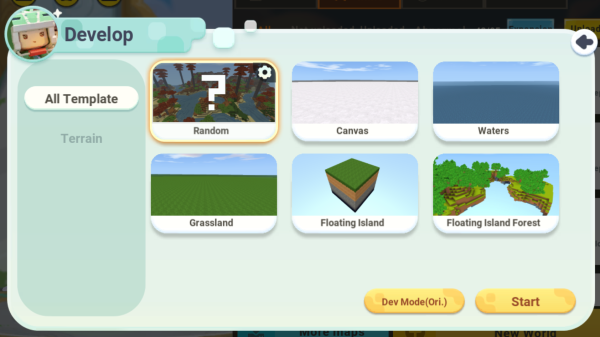
Beginner Guide
Are you feeling lost and confused while trying to navigate the new Develop Mode? Don't worry, I'm here to help you master it. Even if you're a complete newbie to this page, I guarantee that you'll be able to use this mode like a pro with my guidance. I understand how overwhelming it can be when you first see the unfamiliar interface, but with my support, you'll be able to breeze through it with ease. Let's get started!

The Develop Toolbox
This is the Normal Backpack with the same control, but it has more slots! It has a total of 24 slots divided into 3 sections by default: Basic, Details, and Instant sections. You can modify it by pressing [B] and finding the item or block you want to place. Oh, and don't forget to press the Backpack icon on your mobile device to open the Backpack window.

The Guide
By clicking on this button, you will be able to access a variety of helpful tutorials and tips that can assist you in learning more about the subject matter at hand. These resources are designed to provide you with clear and concise guidance on how to accomplish specific tasks or navigate through complex processes, ensuring that you are able to achieve your goals efficiently and effectively.

Testing Mode
If you want to test or debug your game, you can now easily do so by clicking a button instead of opening the settings window.

Settings Buttons
The game developer, while in an inebriated state, mistakenly added two buttons in the advanced Develop Mode, both leading to the same settings window.

To view all the Quicktabs of Advanced Develop Mode, press on the Adv.Toogle Buttons. Here is how it will look like once Quicktabs is active:

Although it may seem like a lot of buttons, don't worry, I can help you understand their functions. Here's a description of what each button does:
- Trigger: You can manage your trigger and set up gameplay that's engaging and fun to play.
- Resource/Miniature: All resources in the game, such as plugins, models, miniatures, animations, pictures, and more, will be stored and can be accessed or modified using this button.
- Interface UI: There's no significant difference between Resource and Interface UI, but the latter is quicker to open the Interface Window.
- Gameplay: This is the most important function of the game that you should read and understand the basics of. This is where you can adjust the full settings of your developed game.
- Default Build Mode: When you first load the Develop Mode, you will be using this mode, which allows you to open your backpack and walk normally.
- Advanced Build Mode: This is an advanced build mode that allows you to scale up your building speed and leverage your experience building huge maps with ease. However, you will need to learn more about it.
- Select Object: This is where you can create and define objects such as Mob, NPC, Area, Positions, or Images.